dessert

A Springtime Cake That Tastes like Sunshine

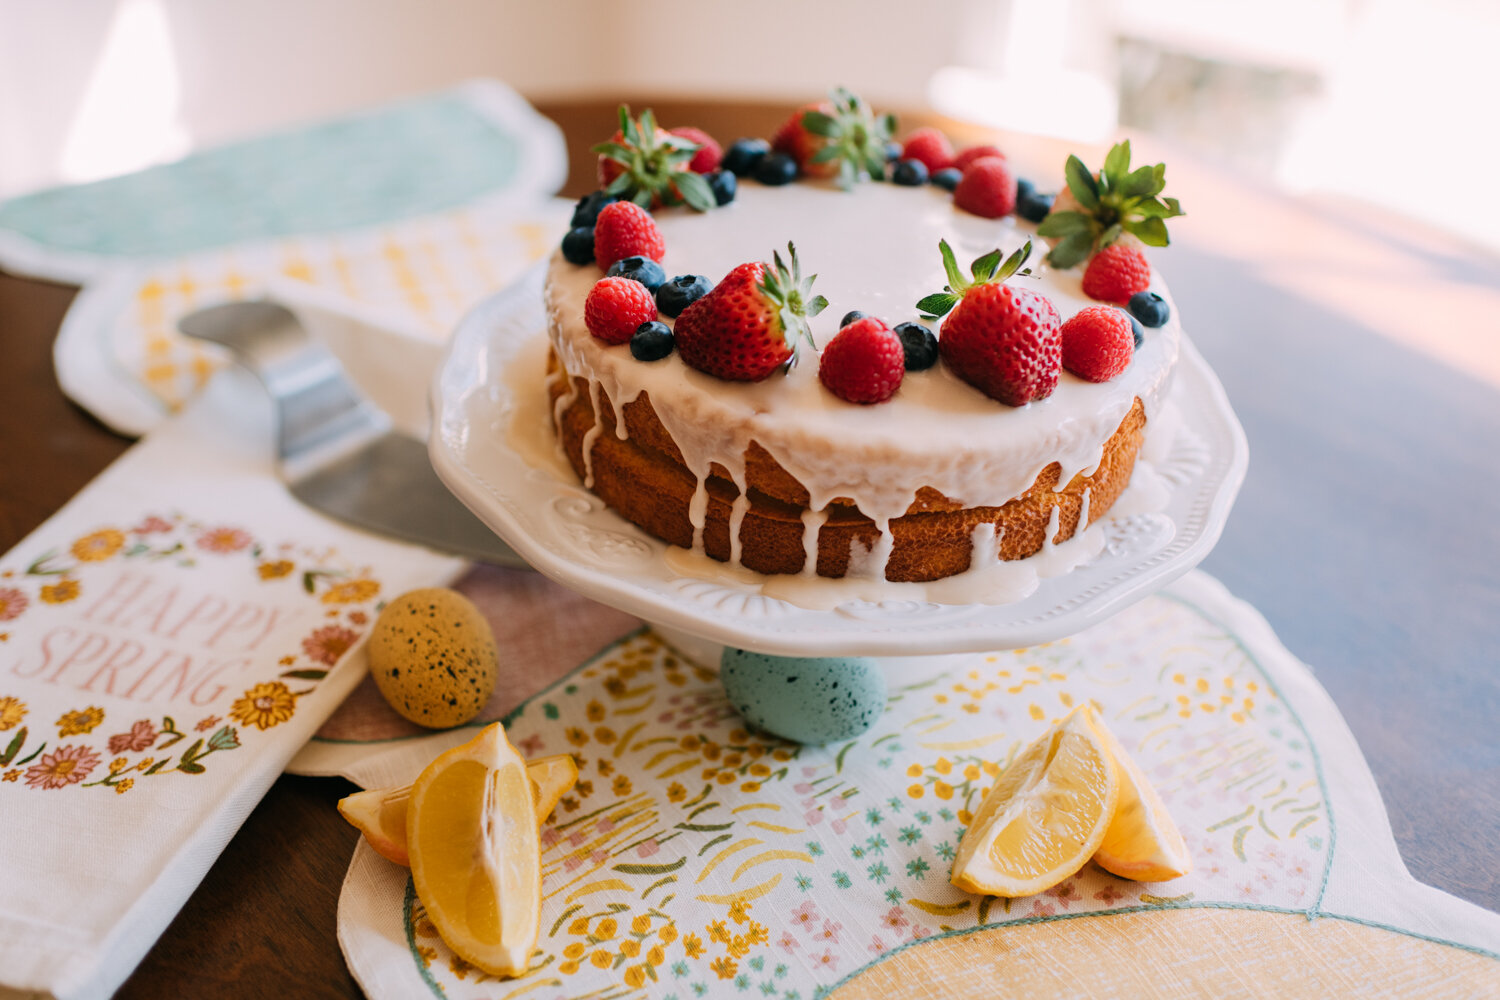
It’s a first for us to make a gluten AND dairy free cake, and guess what, it was a HUGE success! I did a paid sponsorship with a plant based butter company who wanted an Easter themed recipe; our wheels were spinning and Pinterest came to the rescue (as usual) as we stumbled upon One Lovely Life’s blog and therefore, THIS recipe! This is a bright and tangy lemon cake that not only photographs beautifully, it tastes delectable. Want to give it a whirl? Here’s how:

FOR THE LEMON CAKE:

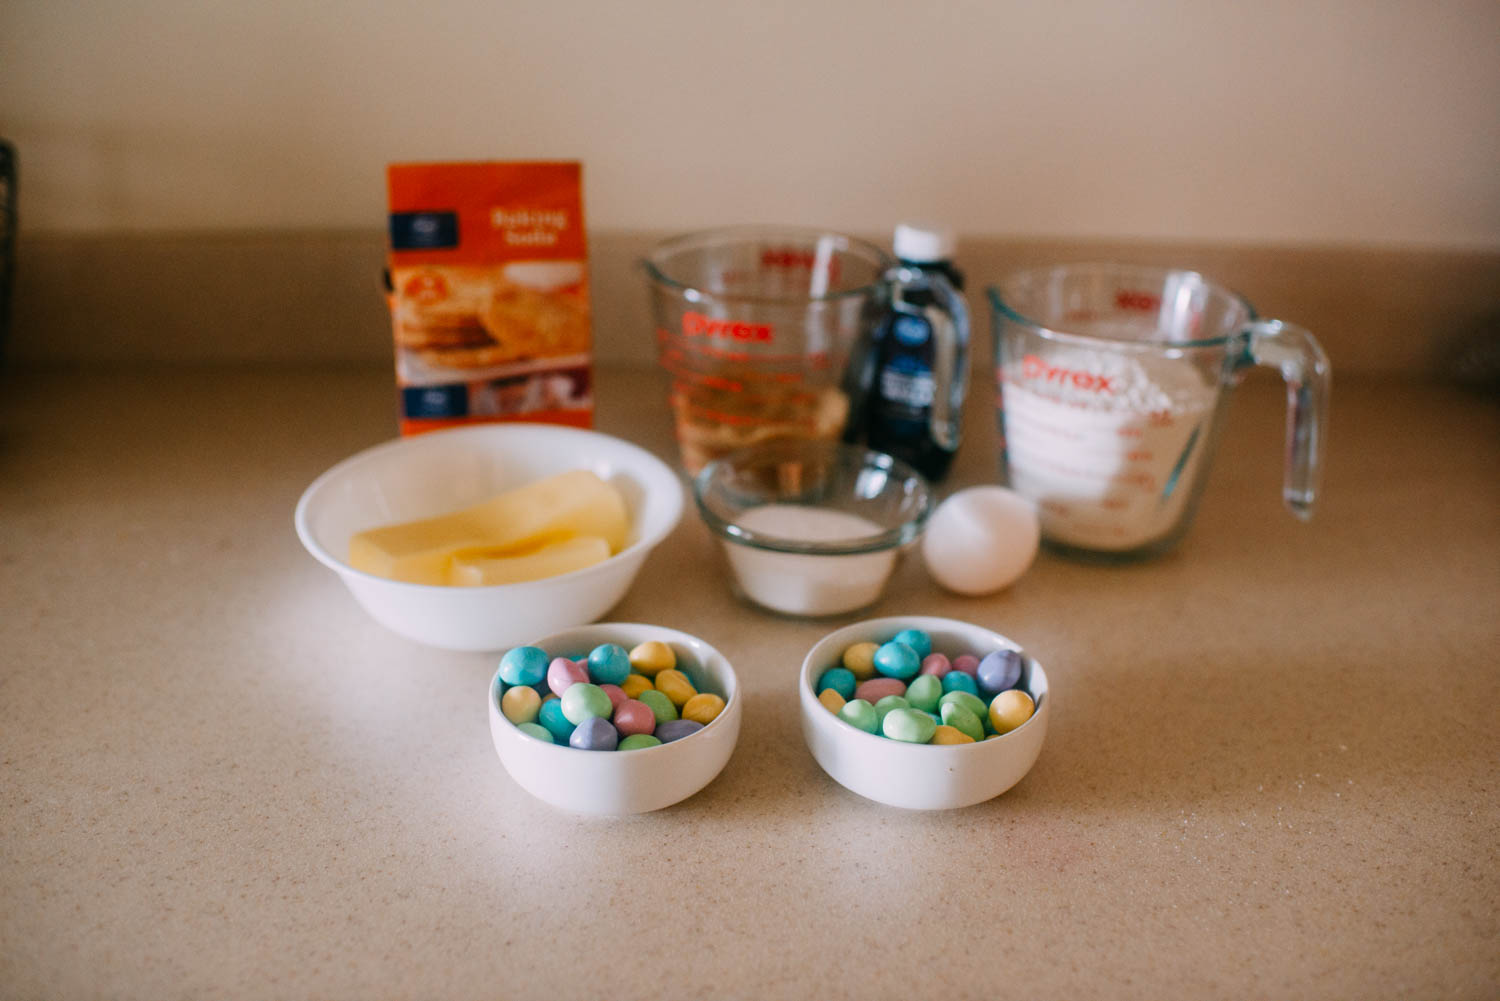
  • 1/2 cup milk (We used unsweetened almond milk)

  • 3 Tbsp lemon juice

  • 3/4 cup sugar (you can use organic cane sugar, we used regular)

  • 2 Tbsp lemon zest (about 2 lemons’ worth)

  • 1/2 cup vegan butter (that’s where my sponsorship came in, we used Flora Plant Butter)

  • 3 eggs

  • 1/2 tsp vanilla extract

  • 1 3/4 cup gluten free all purpose flour baking blend (like Bob’s Red Mill 1-to-1 Baking Flour)

  • 1 1/2 tsp baking powder

  • 1/4 tsp baking soda

  • 1/2 tsp salt

FOR THE LEMON-HONEY SYRUP:

  • 1 Tbsp honey

  • 2 Tbsp lemon juice

FOR THE LEMON GLAZE:

  • 1 Tbsp lemon juice

  • 2 Tbsp milk (We used almond milk)

  • 1/2 tsp vanilla

  • 2 cups powdered sugar, sifted

FOR THE CAKE (recipe from One Lovely Life)

  1. Preheat oven to 350 degrees. Grease a 9″ cake pan with spray oil and line the bottom with a parchment paper circle*

  2. In a liquid measuring cup (or a small bowl), combine lemon juice and milk. Let sit for about 5 minutes.

  3. While the lemon juice and milk is sitting, rub lemon zest into the sugar in a large bowl. This gets the lemon oil into the sugar and distributes the flavor really well.

  4. Add milk mixture, butter (or avocado oil), eggs, and vanilla. Whisk until well combined.

  5. In a medium bowl, stir together flour blend, baking powder, baking soda, and salt. Stir the dry ingredients into the wet ingredients and mix until just combined. (Or you can simply sprinkle the dry ingredients over the wet before stirring)

  6. Pour into your prepared 9″ cake pan.

  7. Bake at 350 degrees F for 25-30 minutes, or until a toothpick inserted in the center comes out clean.

  8. Place on a cooling rack in the pan for 10 minutes to cool slightly before turning out onto a plate.

  9. While the cake cools slightly, mix up your lemon honey syrup (see below)

  10. After 10 minutes cooling in the pan, turn the cake out onto a plate or cake stand and brush with the still-warm cake with lemon honey syrup.

  11. When the cake has cooled completely, top with glaze.

FOR THE LEMON-HONEY SYRUP:

  1. Stir together lemon juice and honey. Brush over the cake when it’s still quite warm (as soon after removing the cake from the cake pan as you can). Let cake brushed with syrup cool completely before adding the glaze.

FOR THE LEMON GLAZE:

  1. Sift powdered sugar into a large bowl. Add lemon juice, milk, and vanilla. Whisk or beat until smooth. (Ideally, you want the glaze to be opaque and to hold its shape when it drips down the sides of the cake. If yours is too thin, add more powdered sugar 1 Tbsp at a time. If it’s too thick, add more milk 1 teaspoon at a time until you reach the right consistency.)

  2. Pour glaze over your cooled cake and gently spread it toward the edges. Let some of the glaze run down the sides. Let set completely before cutting and serving.

NUTRITION FACTS: SERVES 12
CALORIES 301

We don’t make a lot of gluten free recipes (like…never….) BUT Bob’s Red Mill 1-to-1 Baking Flour is a cup-for-cup substitute for white flour in recipes like this, and it is still a light, fluffy result very similar to traditional flour.

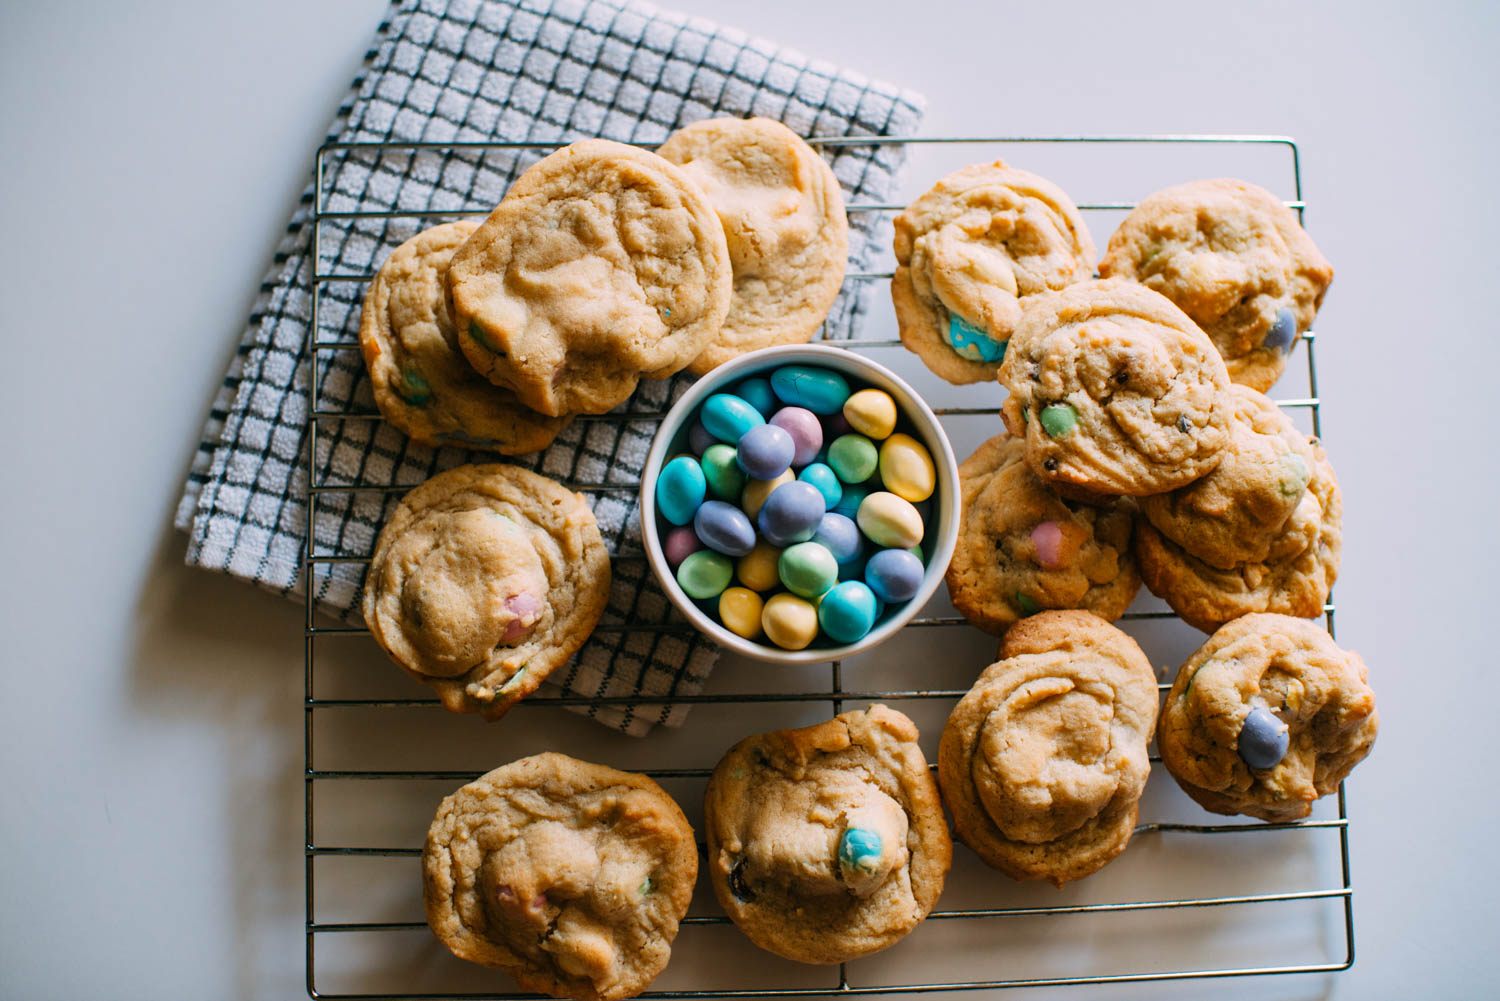
You could turn this recipe into cupcakes (how cute would that be??) and the fruit on top is totally your choice!! We love blueberries, strawberries and raspberries so we went with that!

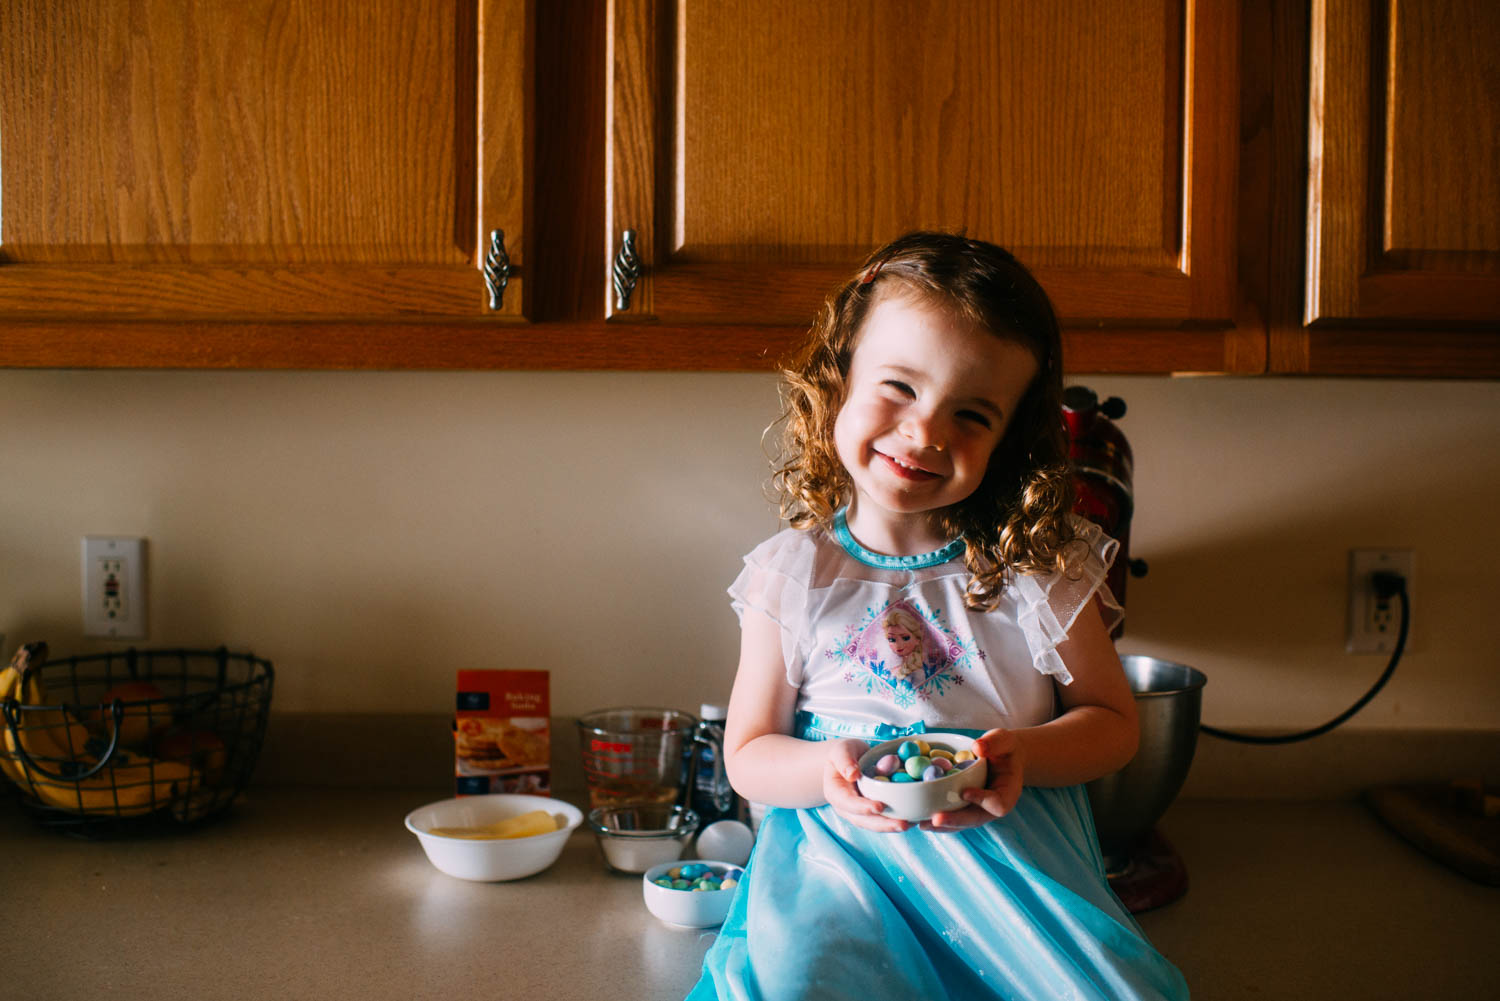
Though we don’t eat a ton of desserts or sweets, lemon is definitely always a win in our household. Reese especially with this cake has loved it and has eaten a small slice the past few nights after her dinner. If you make it, tell me in the comments or post a favorite cake recipe of your own!

Halloween Treats with See's Candies

When we opened our package of See's Candies, my husband and I felt like we were children all over again. Sure we remember getting the fun sized bags of candy during the Halloween festivities, but there is something nostalgic about vintage and authentically made treats. Do you remember going into the corner store with your grandmother? The giant lollipops and colorful suckers that immediately made your mouth water? Holidays are really special in our family and making sweet memories has been at the top of our list since the moment we became parents. Enter literal sweet memories, such as this, and our kids having their own taste of Halloween. 

Halloween is of course about costumes and trick and treating and hanging out with all of our friends; but we ALL know at the end of the night, it's allllllllll about that c-a-n-d-y!! Check out some of the sweetness that can be found at See's Candies-- they've been making quality chocolate for over NINETY years, y'all. And they have over 200 shops AND an online store.

If WE as parents were oohing and aahing over the beauty that was set out in front of us, you KNOW our children were in candy and chocolate HEAVEN. It was so fun watching them pick up the many assortments and talk about what to try first and then what to eat next. We only let them have two pieces, and ever since this shoot, I've basically been ghosting the leftovers [which there was a LOT] because #momtax, y'all. 

If the images themselves haven't convinced you yet, then just see for yourself. Visit See's Candies website and I double dog dare you to choose just ONE Halloween treat. I mean really, do you think you'll be able to order JUST the Trick or Treat Lollypops and miss out on ALSO ordering those milk chocolate jack o' lanterns? Hhhmmmmmmm, I doubt it ;) 

Happy Halloweening, friends! Is that a word? No...but it works. 

The SOFTEST Oatmeal Pumpkin Chocolate Chip Cookies

DSC_1160.jpg

Leave it to Instagram to come up with a TOLL option in their stories feature, and y'all know me, I HAD to try it. Needless to say 96% of my viewers said YES to wanting the recipe [I want to know who the 4% no's were!!!] But it was a fun toll regardless and a new way to incorporate feedback into what I do.

These were by far, the best pumpkin cookies I've ever had to date. Come fall, I will NEVER turn down pumpkin [except maybe really weird stuff, like, did you know pumpkin flavored Doritos are/were a thing?!?! WHY!?!] My husband actually baked these so I can take ZERO credit other than photographing them, writing this, and eating almost all of them.... (He found the original recipe here, on Averie Cooks blog.) 

I have always loved oats in cookies, and while I don't love oatmeal RAISIN, I DO love a good oatmeal chocolate chip. We decided to give these a whirl on a Sunday afternoon and guys, you have to find time asap to try these for yourself.  This cookie is oozing in nothing but fall flavors, because you can never go wrong with molasses and pumpkin pie spice. 

Ingredients
1/2 cup unsalted butter, melted
1/2 cup pumpkin puree
1/2 cup granulated sugar
1/4 cup light brown sugar, packed
1 TBS mild or medium-flavored molasses (not blackstrap, too intense)
1 1/2 tsp vanilla or pumpkin pie spice extract
1 1/2 cups old-fashioned whole-rolled oats (not quick-cook or instant)
1 1/4 cups all-purpose flour
2 tsp pumpkin pie spice (a mixture of cinnamon, allspice, cloves, and nutmeg if you don’t have pumpkin pie spice)
1/2 tsp baking soda
1/4 tsp salt
1 cup semi-sweet chocolate chips

Directions:

1. Melt the butter in a microwave safe bowl
2. Add the pumpkin puree, sugars, molasses, vanilla, pumpkin pie extract and whisk thoroughly to combine until smooth
3. Add oats, pumpkin pie spice, flour, and salt. Stir until combined. 
4. Add the chocolate chips and stir. 
5. Use a large cookie scoop and form 13 equal sized mounds of dough and flatten just slightly. 
6. Add the mounds on a large tray, cover with plastic wrap and cool in fridge for at least three hours [this was the hard part because I am guilty of just wanting to eat the dough!!!!!!!!!!]
7. Preheat oven to 350. Line a baking sheet with wax paper or spray w/ cooking spray
8. Place mounds of dough 2 inches apart and bake for 12-14 minutes or until the tops are set (even if they look slightly undercooked or pale--do NOT over bake!] 
9. Cookies will firm up as they cool, so allow them to cool for about ten minutes before serving. 

Fall is just beginning, guys, so seriously, if your pantry is lacking in these ingredients, I suggest you fix that immediately. This is the first of many desserts I plan on making [normally I AM the one who bakes], but I won't complain one bit if my husband wants to continue whipping bad boys like these up. These oatmeal pumpkin chocolate chip cookies are chewy, soft, and perfectly delicious! Great...now I'm going to get another [which will be my third today............] :) 

DSC_1159.jpg

Spring and Easter M&M Cookies

Baking + holidays are my JAM, so with Easter soon approaching, you know I've been all over Pinterest. I figured someone had a great Easter or spring themed recipe and sure enough, I found one. On our first day back to 'normal,' (aka Dad went back to work!) the kids and I spent a long time at the park with our pups and the only way I happily got them to leave was by saying, "Well let's go make cookies!!" These kids LOVE to help in the kitchen. I measured out the ingredients and then same as they always do, turns were taken pouring into the mixing bowl, turning on the standing mixer, and finally the best part [duh]: licking the spatula and beater. Yummmm! These are SO soft and chewy, so don't miss the cornstarch part because it really helps!

INGREDIENTS:

3/4 cup (1 1/2 sticks) unsalted butter, softened
3/4 cup light brown sugar, packed
1/4 cup granulated sugar
1 large egg
2 teaspoons vanilla extract
2 cups all-purpose flour
2 teaspoons cornstarch
1 teaspoon baking soda
pinch salt, optional and to taste
1 1/2 cups milk chocolate M&Ms (I used peanut because that's all our Kroger had at the time, they were DELICIOUS!]

DIRECTIONS:

  1. To the bowl of a stand mixer fitted with the paddle attachment, combine the butter, sugars, egg, vanilla, and beat on medium-high speed until well-creamed, light and fluffy, about 5 minutes (or use a hand mixer and beat for at least 7 minutes). 

  2. Stop, scrape down the sides of the bowl, and add the flour, cornstarch, baking soda, optional salt, and mix until just combined, about 1 minute.

  3. Add the M&Ms and fold in by hand.

  4. Use a 2-inch cookie scoop, and make heaping mounds. 

  5. Preheat oven to 350F, line a baking sheet with parchment, or spray with cooking spray. Place them on the baking sheet, spaced at least 2 inches apart. I baked mine for eight minutes total. Allow cookies to cool on the baking sheet for a few minutes before transferring to a rack to finish cooling.

  6. Store cookies in an airtight container at room temperature for up to one week, and ENJOY! My lunch today may or may not have been mostly cookie dough.....;) 

Adapted from Averie Cooks