baking

Delicious, Simple, Must Make Cinnamon Rolls

ashley glass blog

Making homemade cinnamon rolls has always been an intimidating thought for me…it always seemed like so much dang work. I won’t say this was incredibly fast, but it’s a straightforward recipe and I am so excited to share it with you.

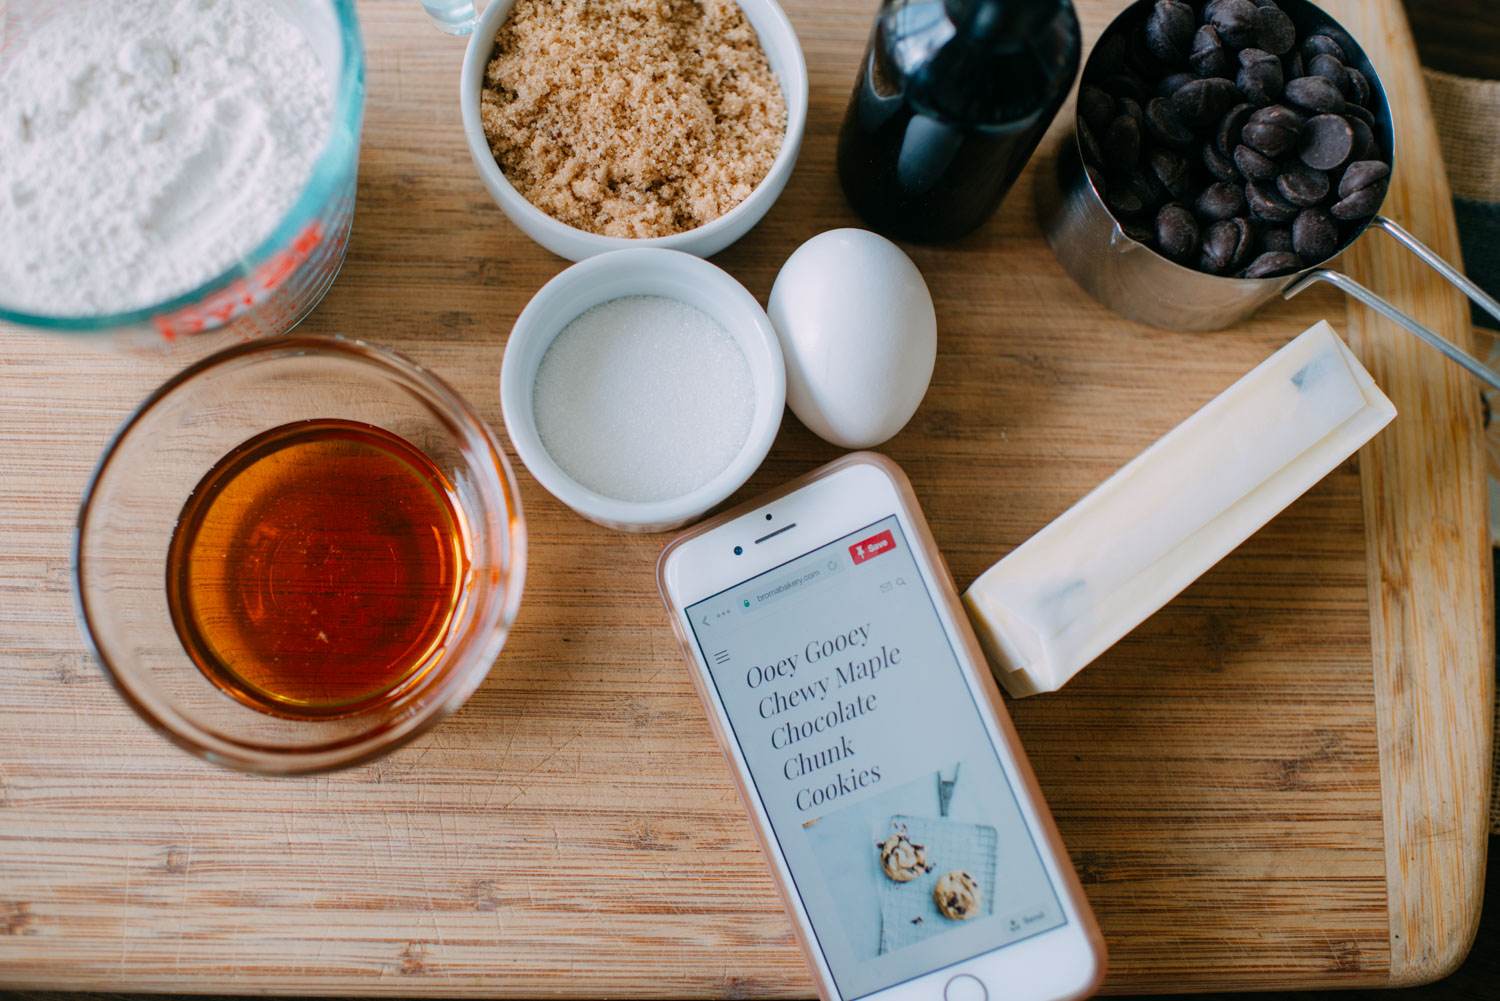
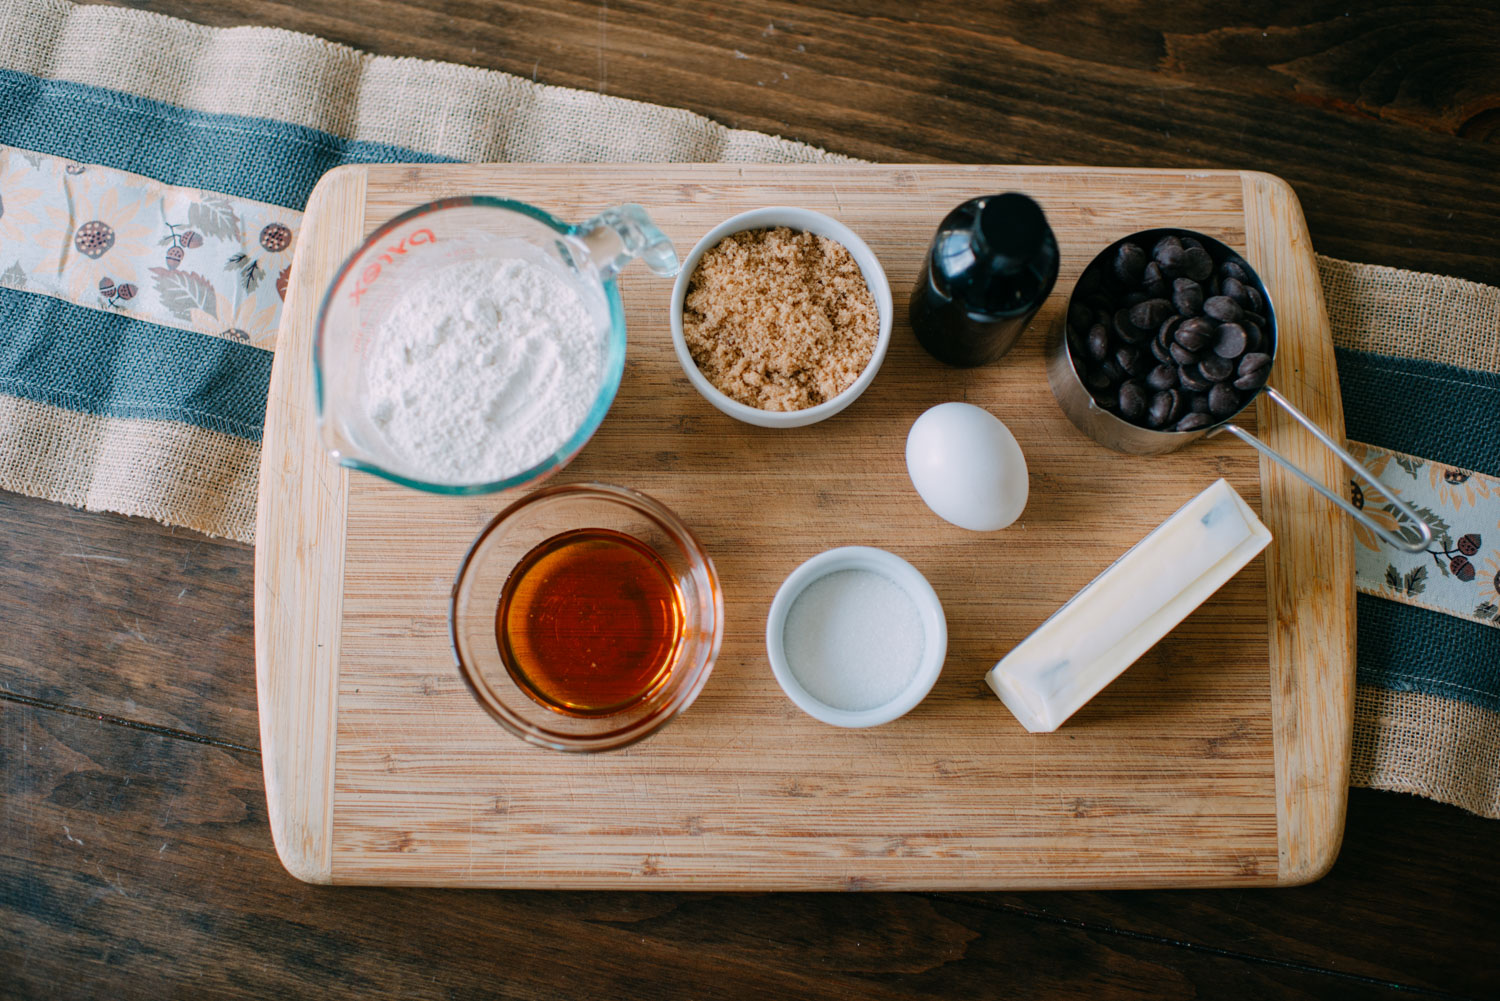
Here’s how to make the dough. Make sure you have these ingredients:
-1 cup warm milk (heated to 110-degrees)
-4.5 cups flour
-2 eggs room temperature
-1/3 cup melted butter
-1 teaspoon salt
-1/2 cup white sugar
-2.5 teaspoons yeast

Dissolve the yeast in the warm milk in a large bowl. Mix in the sugar, butter, salt, and eggs. Add flour and mix well. Knead the dough into a large bowl, using your hands dusted lightly with flour. Put in a bowl, cover, and let rise in a warm place for about an hour, or until it is doubled in size.

We discovered our kitchen was too chilly. We had tried to cover the yeast as directed and set a timer for an hour. It hadn’t risen at all. So my husband googled a solution and read that we should get the oven warm, not hot, so around 100-degrees. He did that for a minute or so, turned the oven back off, and closed the bowl inside. After about an hour inside the oven (remember, not HOT, just warm) the dough rose just as it needed to!

What’s next…
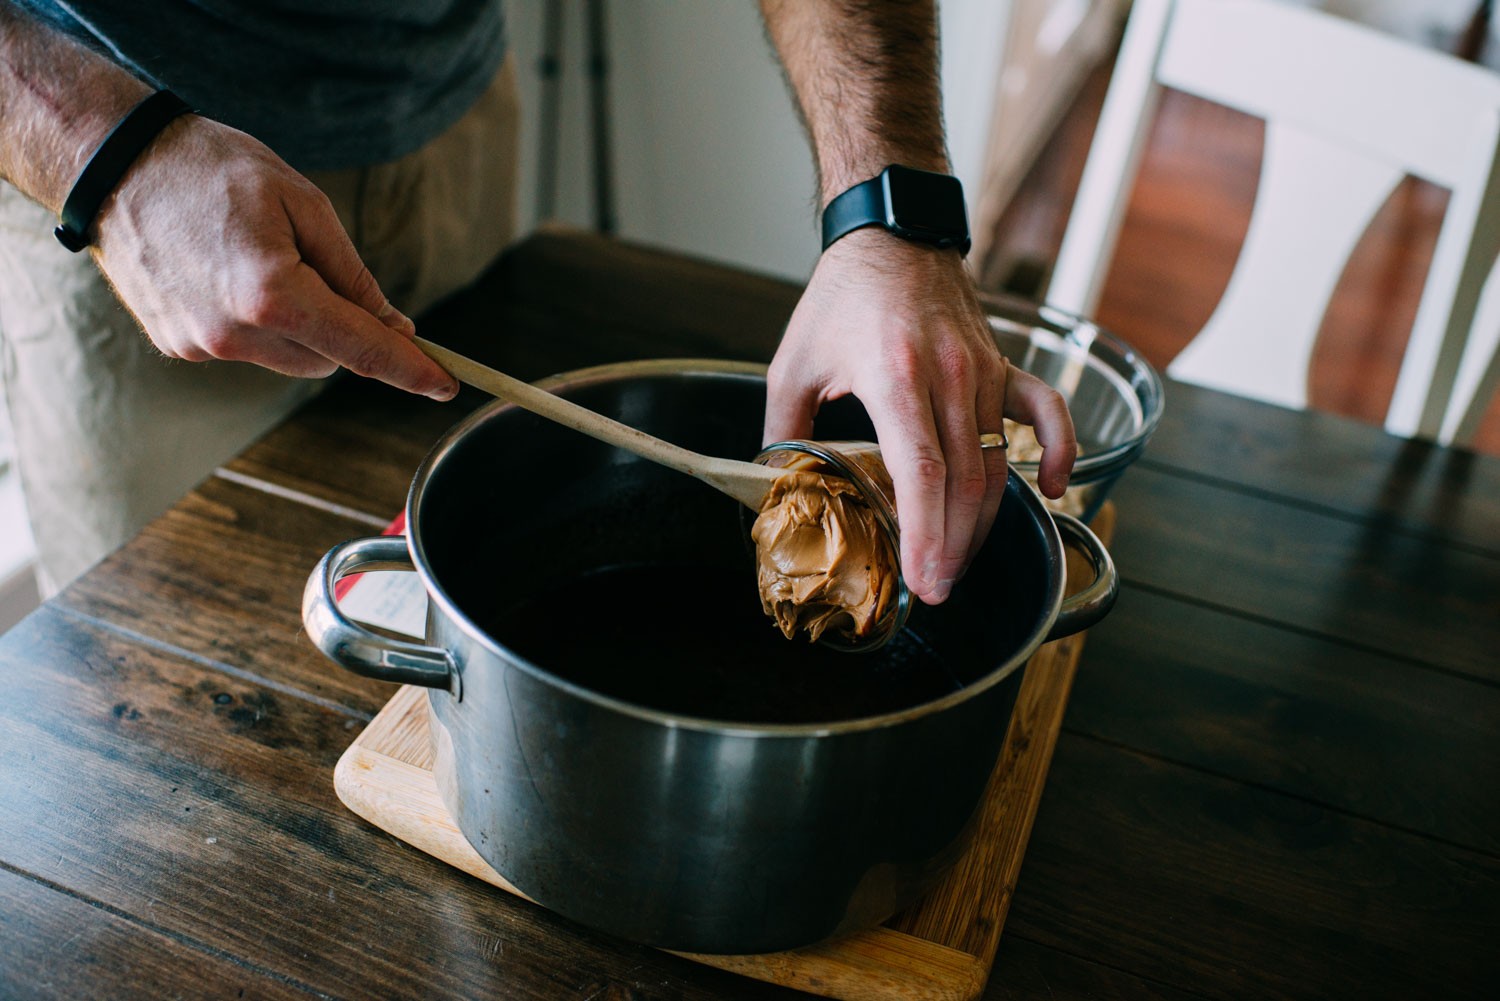
You’ll need these ingredients for the delicious, mouth watering, filling:
-1 cup of packed brown sugar
-2.5 Tablespoons ground cinnamon
-1/3 cup melted butter

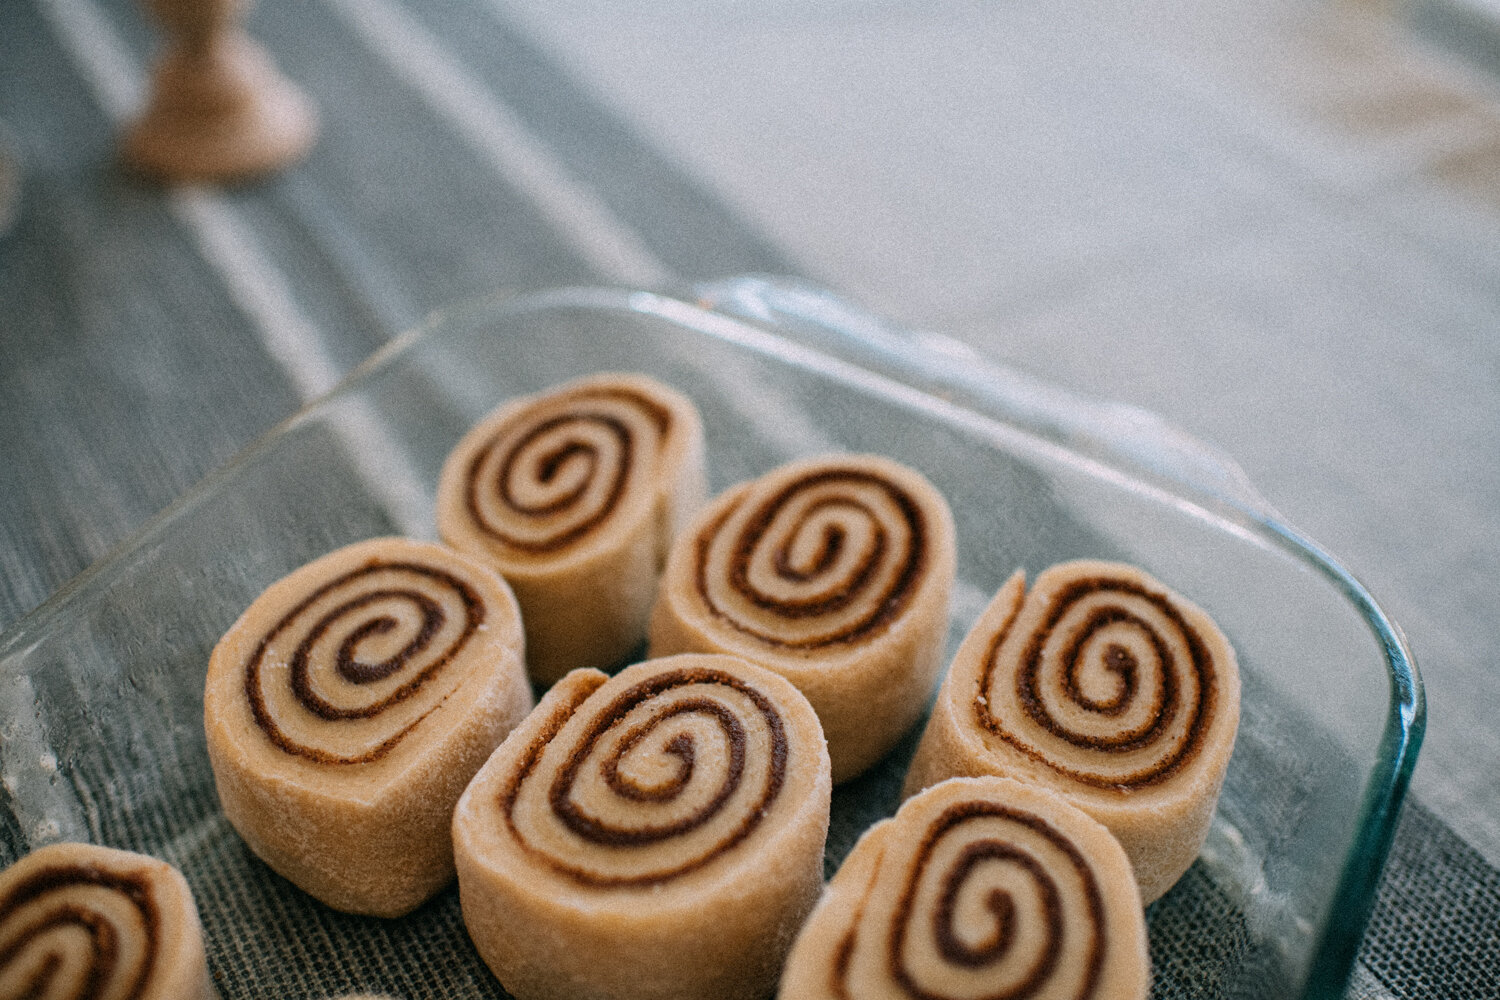
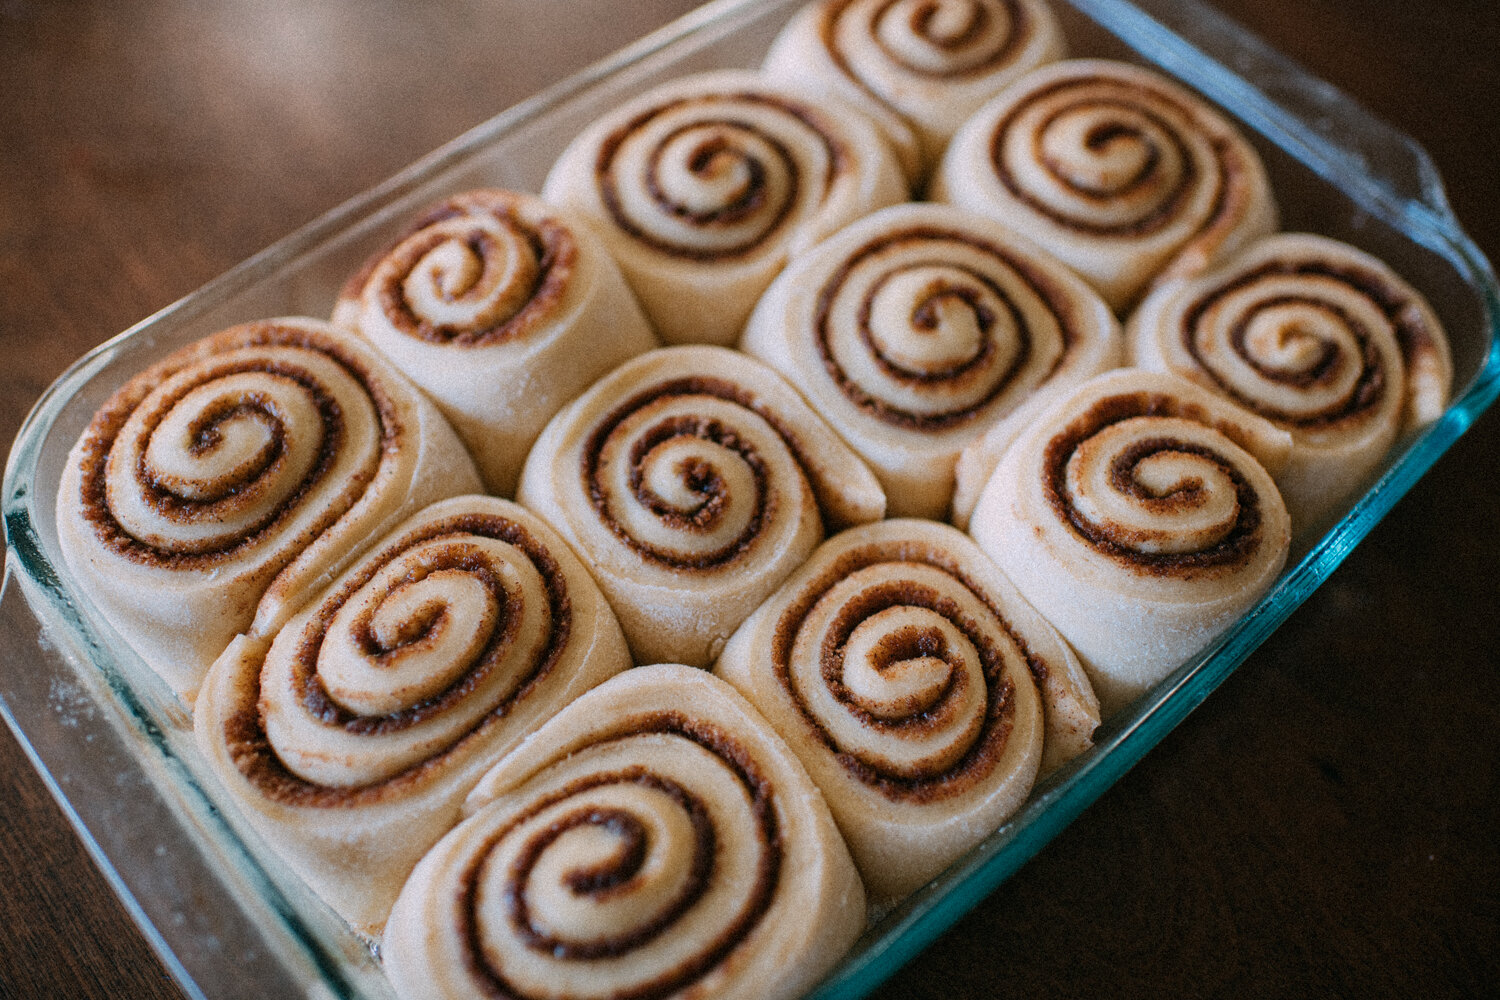
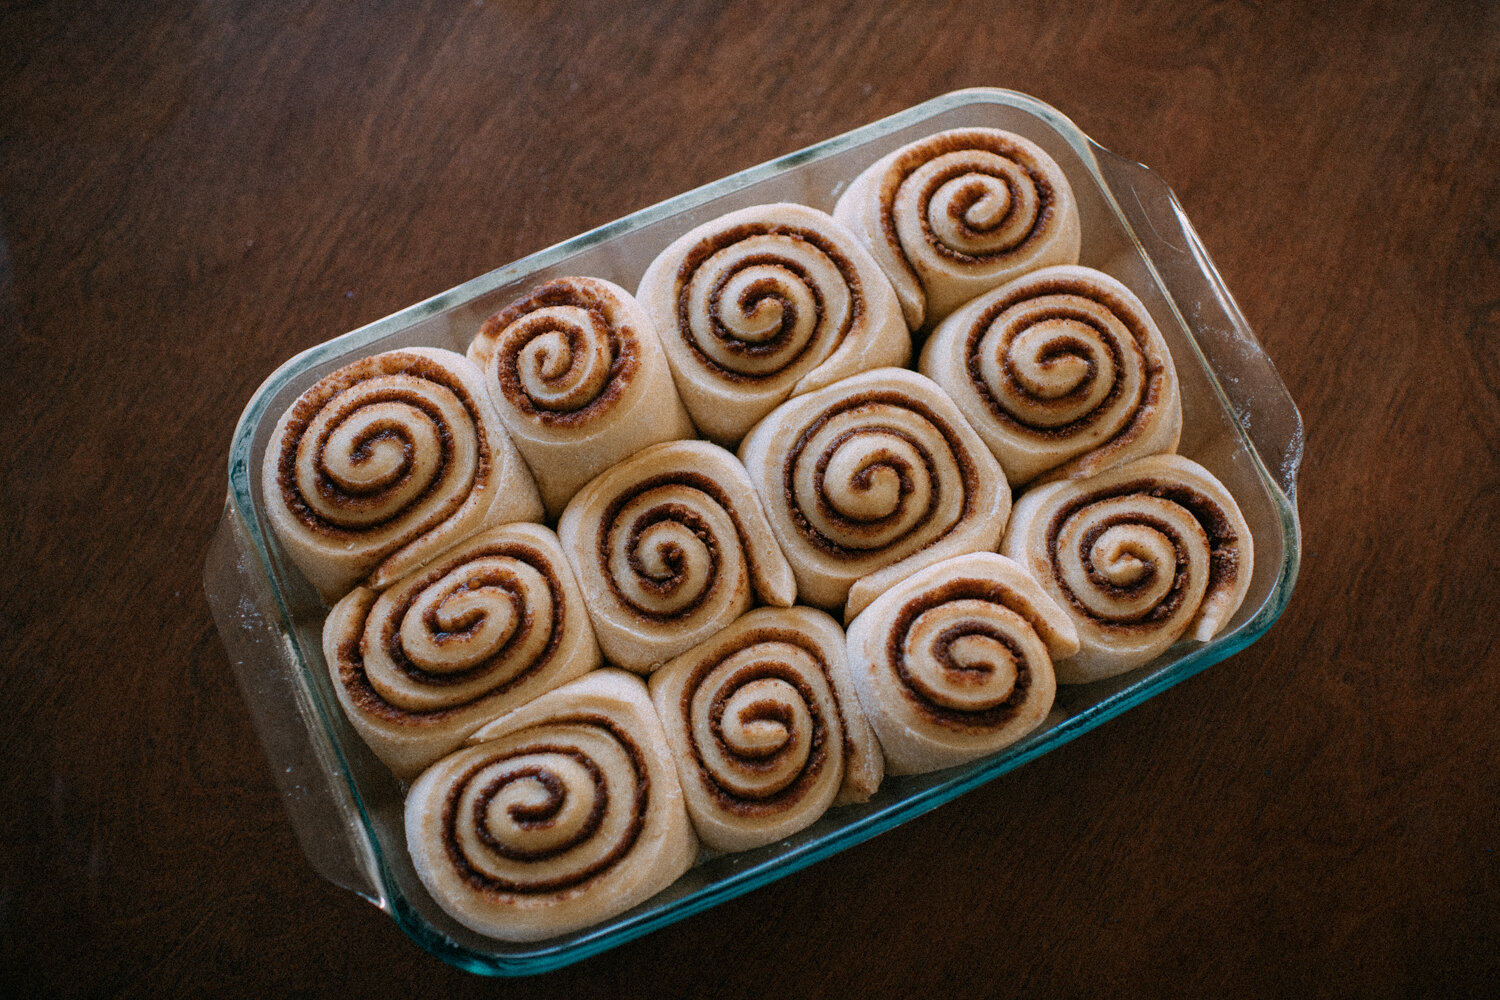
After the dough has doubled in size, turn it out on a lightly floured surface, cover, and let rest for 10 more minutes. In a small bowl, combine the brown sugar and cinnamon. Roll dough into a 16x21 rectangle. Brush the dough with melted butter, sprinkle with sugar/cinnamon mixture. Roll up the dough starting on the long side and cut into 12 rolls. Place them into a lightly greased 9x13 inch baking pan. Cover and let rise until nearly doubled (about 30 minutes). Preheat the oven to 350-degrees.

Bake rolls until they are golden brown (about 20 minutes). While the rolls are baking, beat together the frosting mixture:
-1 (3oz) package softened cream cheese
-1/4 cup softened butter
-1.5 cups powdered sugar
-1/2 teaspoon vanilla extract
-1/8 teaspoon salt

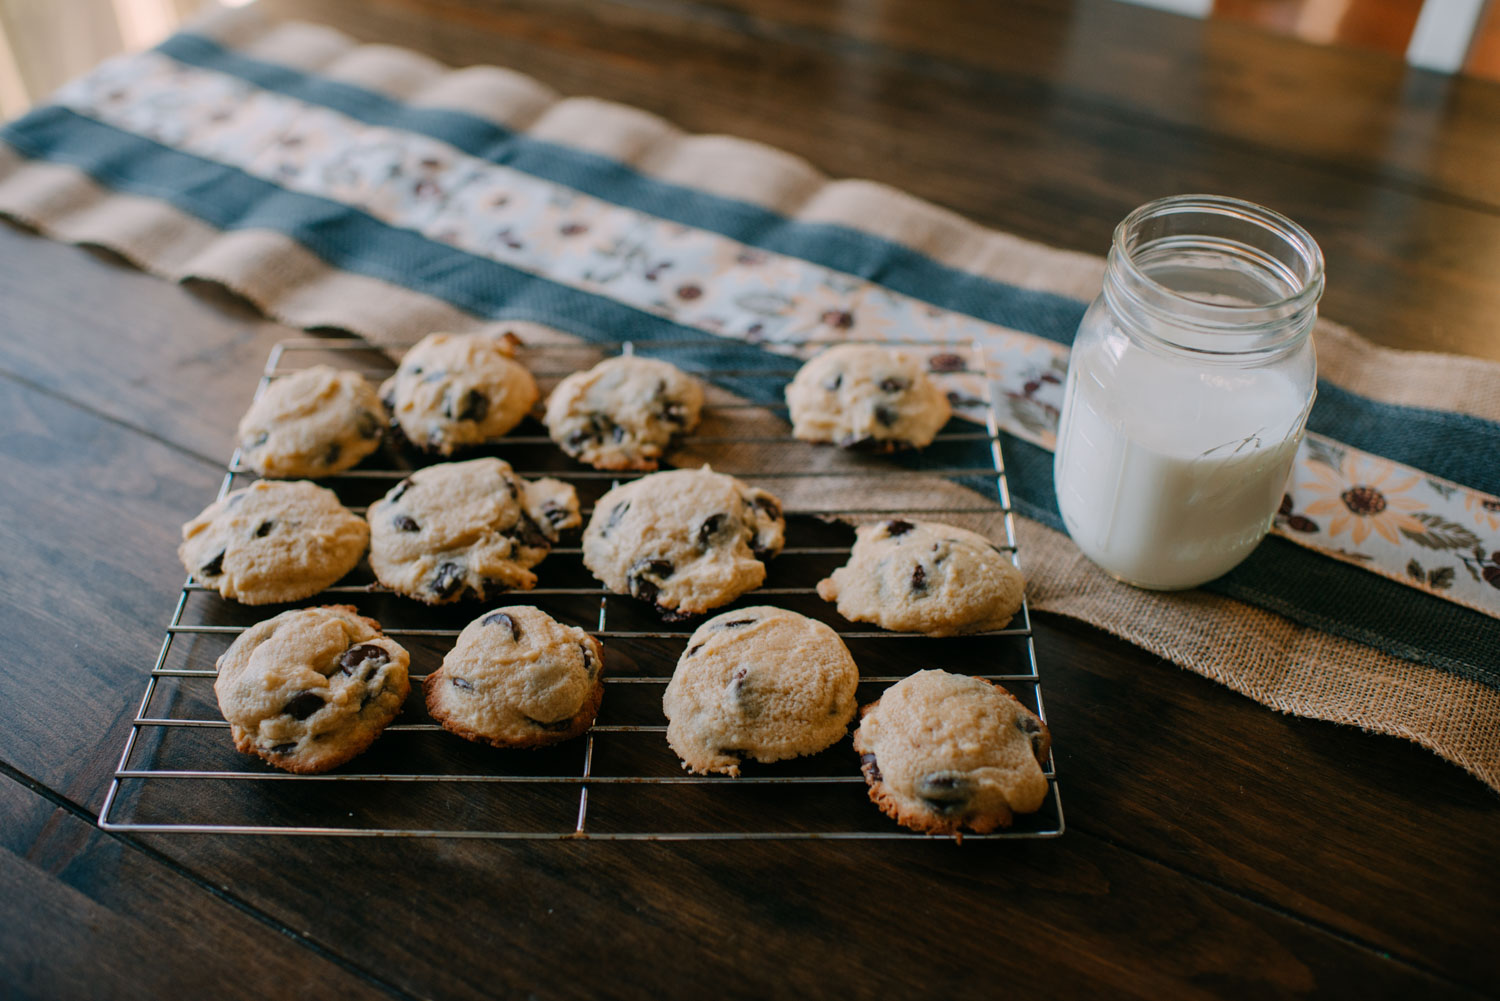
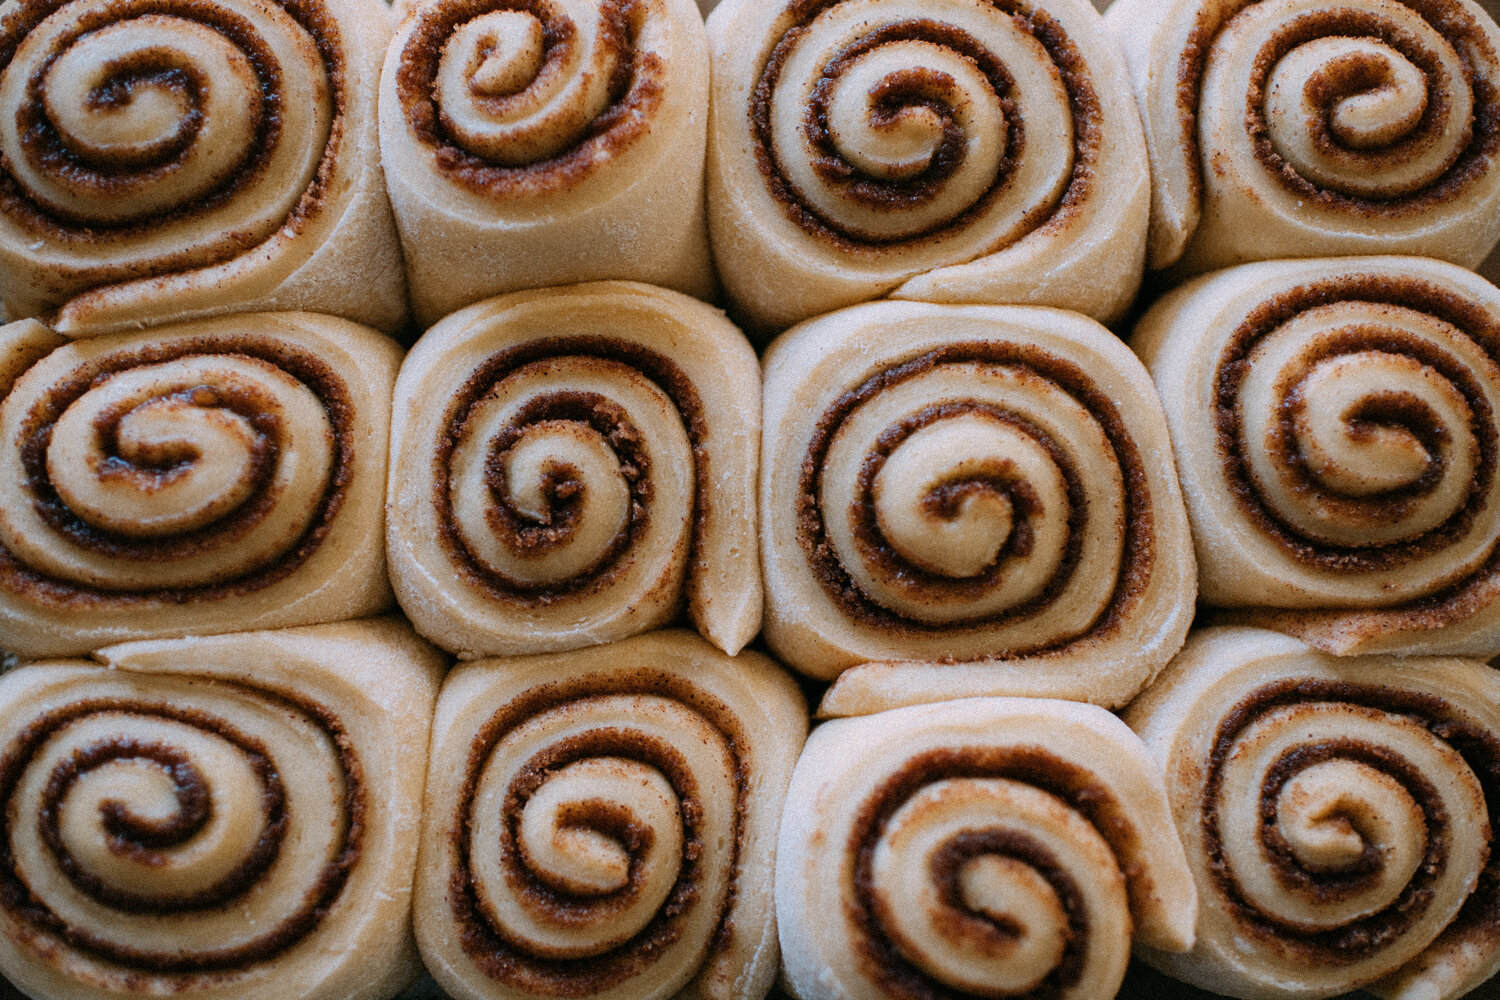
Here are what the rolls looked like after they rose, and before they were baked:

Here’s where I get to be completely honest with you, AND shock you. I did not make these.

My husband did.

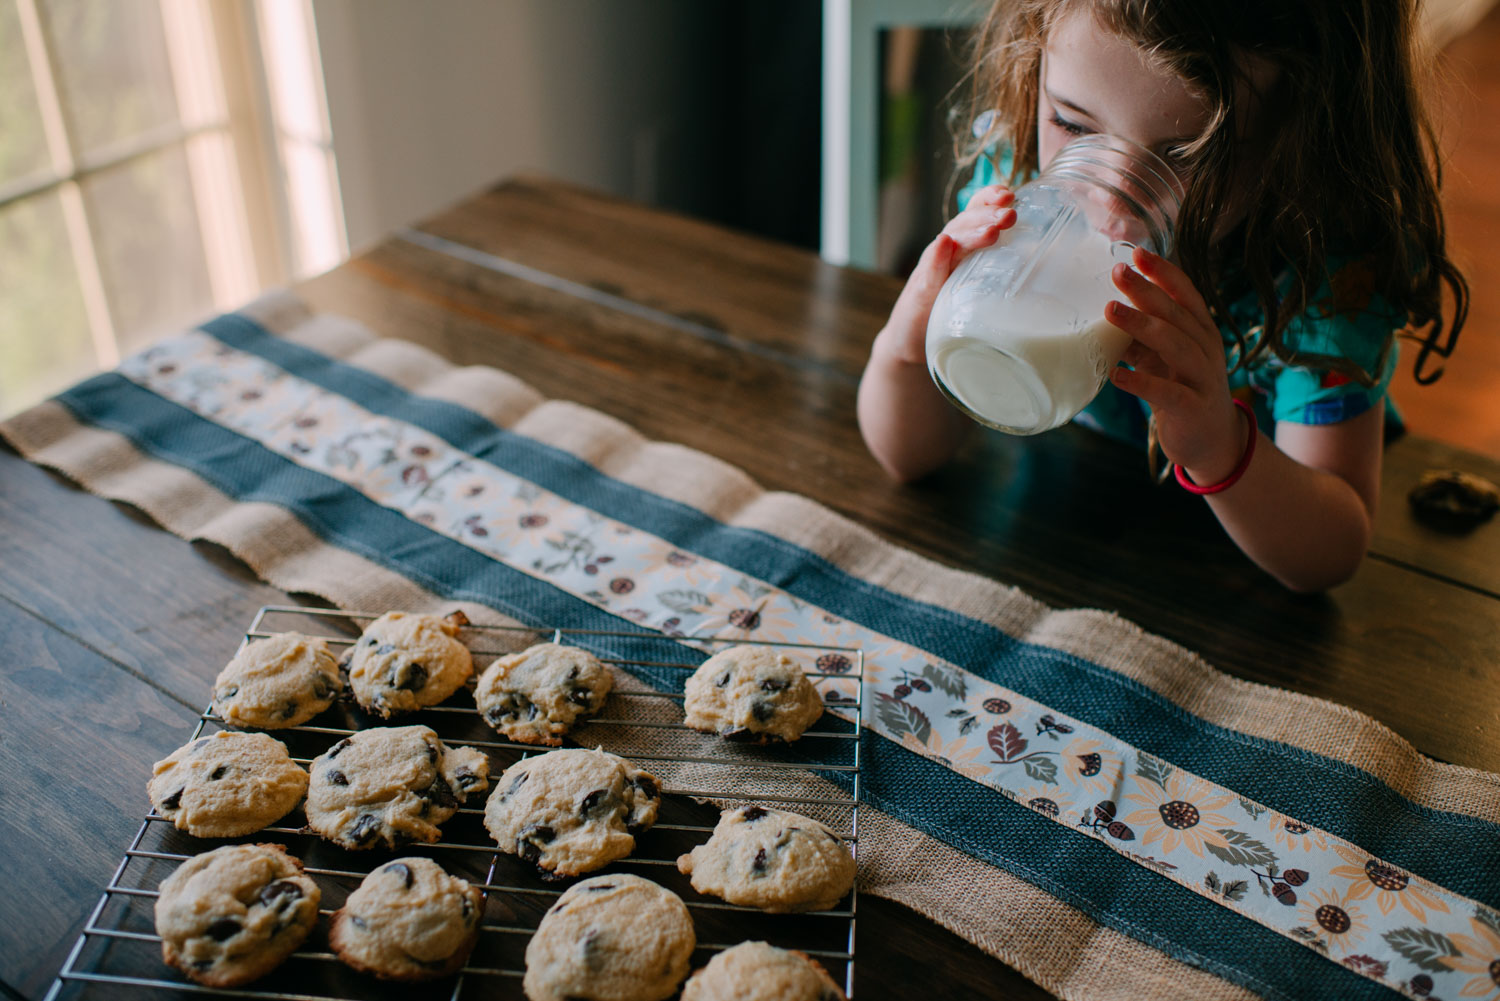
I know, I know, I know. That is so shocking because I am SO crafty in the kitchen and I do so well there. But I just wanted to give credit where credit is due. I was all ready to help earlier in the day, but when the dough took longer than expected, we weren’t sure how this would all turn out aaaand I needed to head to the barn. So this is all Ace. And when I came home from the barn, we had these bad boys for dinner.

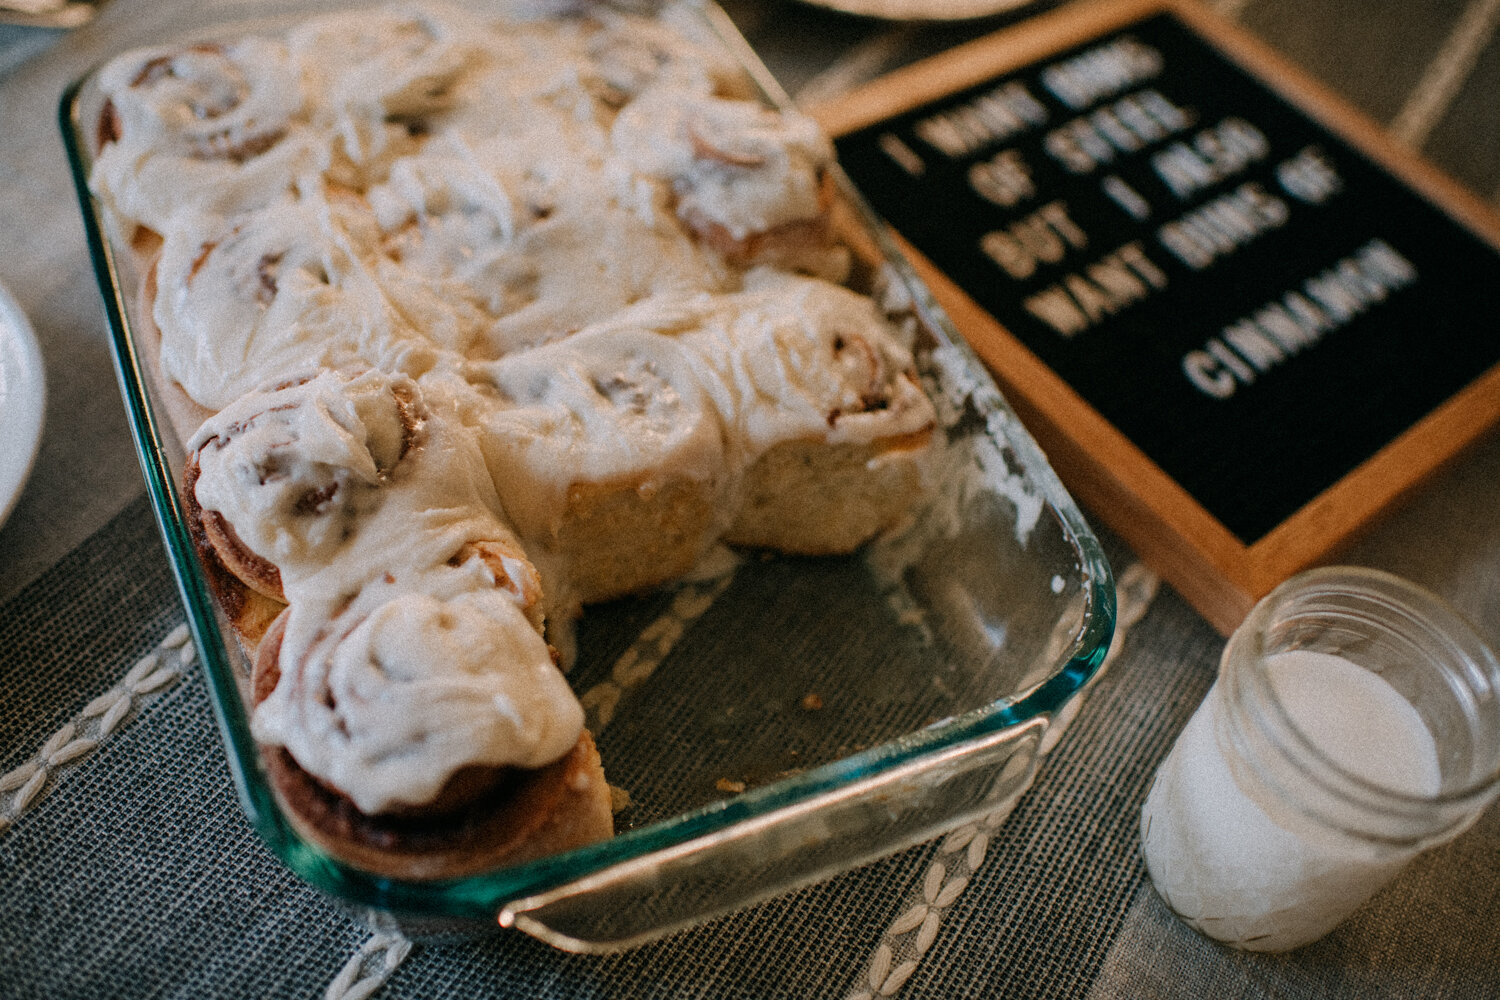
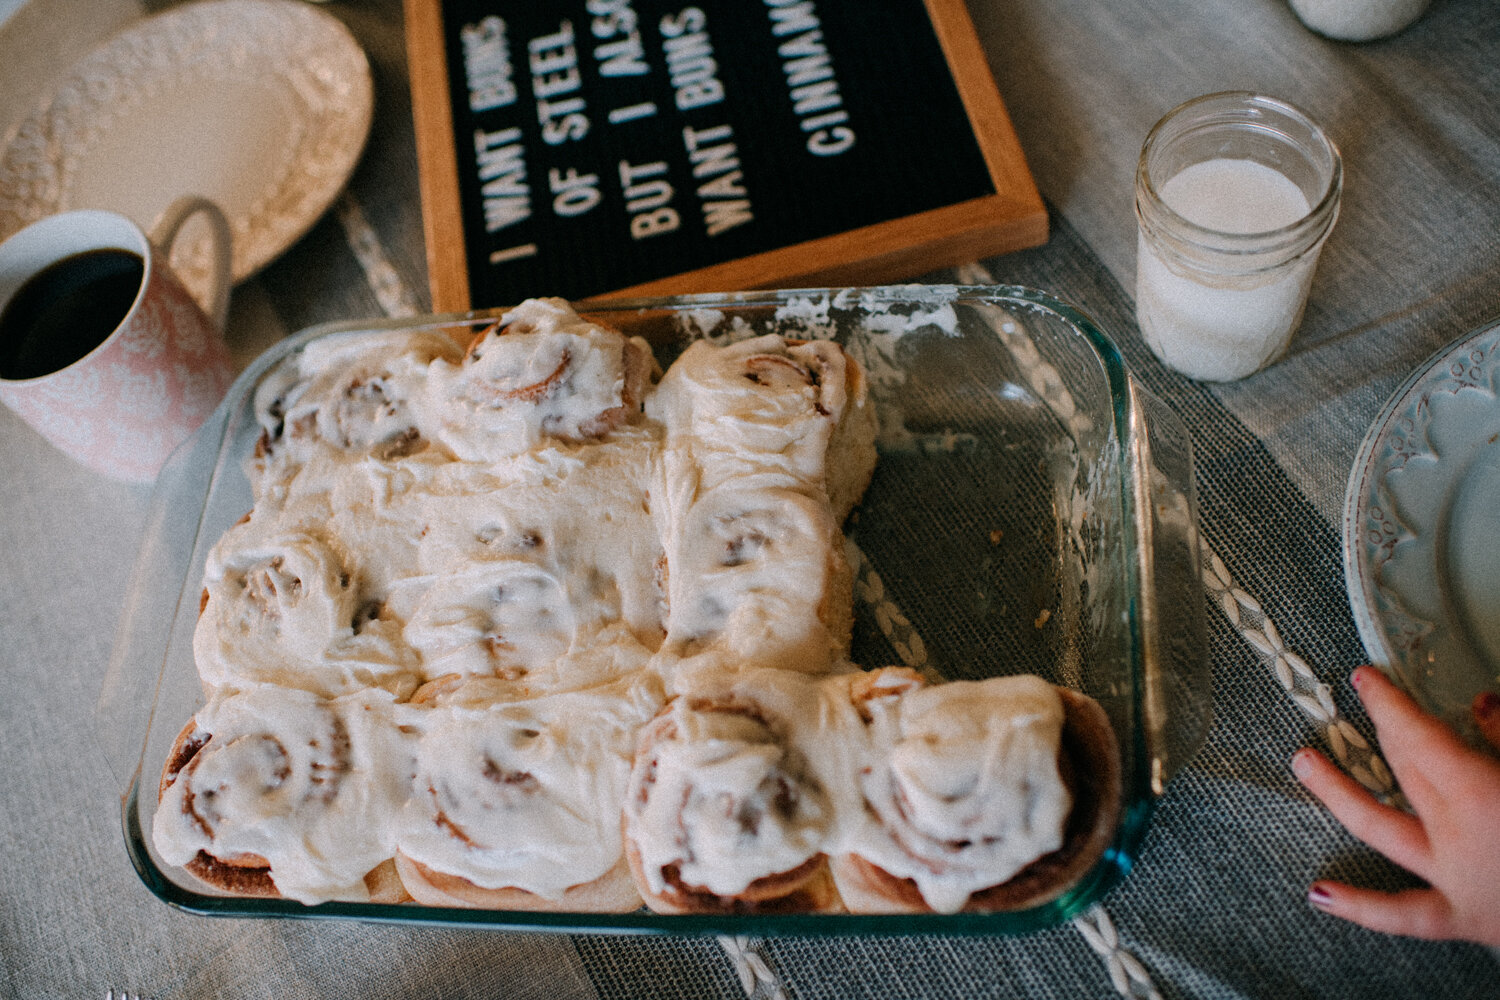
The kids were especially excited about this dinner option. Seriously, these cinnamon rolls were so soft, the frosting was perfection, and the sugar and cinnamon was all bubbly and caramelized. If you are someone who can wake up and make these beauties bright and early, go for it! But I am so glad we had these for dinner and I think they would be perfect for a brunch or girls night too. This is based entirely on the fact that I despise mornings, and my husband who IS the cook of the house, said that this was a little more work than he would normally want to do on the average morning for breakfast ;)

ashley glass blog

It is thanks to the Bakerlady that I found this recipe on Pinterest. And you can find her blog and post here! PS: who doesn’t want buns of cinnamon?! Here’s to all the cinnamon rolls and to the wonderful people you enjoy them with!

Soft & Chewy M&M Spring Cookies

ashley glass blog

It’s been a bit since I’ve been in the kitchen, so whipping up these soft and chewy cookies was quite the treat for me and my family! The kids have loved to help me bake since they were teeny tiny and this day was no different. So as the sun shone brightly outdoors and the open windows brought in a cool breeze, we got busy. This recipe is super easy and you could even add your own little spin, such as white chocolate chips or funfetti sprinkles—you decide! We used spring colored M&M’s, and followed this recipe to a tee!

Here’s what you need and hopefully you have in your pantry:

  • 1/2 cup butter

  • 1/2 cup brown sugar

  • 1/4 cup white sugar

  • 1 large egg

  • 2 teaspoons vanilla extract

  • 1 2/3 cup flour

  • 1/2 teaspoon baking soda

  • 1/2 teaspoon salt

  • 1/2 cup white chocolate chips

  • 1/2 to 1 cup pastel M&M candies or candies preferred

And here’s how to make them:

  • Preheat oven to 350 degrees.

  • Place parchment paper on top of baking sheets (or set aside un-greased baking sheets)

  • Add butter to a microwave dish and microwave for 25 seconds or more until butter is partially melted, like 1/2 of the butter should appear melted while the other half still looks like a melted butter stick.

  • Add the sugars (brown and white) to a large mixing bowl with the partially melted butter and stir well to combine.

  • Next, beat in the egg and vanilla until just combined.

  • Add in the flour, baking soda, and salt and mix until just combined.

  • Add in your candies of choice (I just used a 1c. measuring cup and then gently stirred with our standing mixer. Don’t over beat or stir though)

  • Use a large cookie scoop (3 tablespoons) to scoop out 12 cookies or use a medium sized cookie scoop (1 1/2 tablespoons) for 18-20 cookies and arrange them evenly on baking sheet .

  • Bake for 10 minutes for medium sized cookies and 13-15 minutes for larger cookies. Cookies will still be slightly underdone when you remove them from the oven. Make sure not to over bake for soft and chewy cookies. Cookies will not spread much while baking. (I followed this precisely and ten minutes was the perfect amount of time!)

  • Let sit on baking sheet for 5 minutes before eating. Allow cookies to cool completely before storing in an air-tight container for up to 4-5 days.

The kids have been enjoying these as an after dinner treat. It’s too bad we aren’t really supposed to share food or common spaces with people, because we would have loved to share with neighbors! I guess it means more for me though, so I won’t complain too much ;) I highly, highly encourage you to make these. Treat yourself to a moment on your deck or porch, cookie in hand. Stay well, friends and happy baking!

ashley glass blog

My Mama's Famous No Bake Cookies!

16.jpg

Do you have a cookie that is your childhood staple? I have several, but one of them is my mom’s famous Chocolate No Bakes. I was always fascinated at the simplicity of not BAKING a cookie [okay truthfully, it still fascinates me?] and hers always turned out SO GOOD.

Except one time, when my dad made a batch. He put four teaspoons of cocoa in when it was supposed to be Tablespoons. We wondered what in the world happened and why they weren’t chocolatey and then he realized ooooohhhhhh, not nearly enough cocoa! [I love you, Dad!]

These cookies are the perfect blend of good texture, sweetness, and chocolate. Fun fact, I argued with my husband NUMEROUS times about how putting peanut butter in a Chocolate No Bake would NOT be good. And then he showed my mom’s recipe which low and behold, calls for 1/2 cup of peanut butter. (Remember, my MOM used to make these, not me. Sorry, Mom!)

So here’s watcha do, Y’all:

4.jpg

Get your ingredients.

4T Baking Cocoa
2 cups of Sugar
1/4 cup margarine or butter
1/2 cup of milk
3 cups of oatmeal
1/2 cups of peanut butter
1 teaspoon vanilla

Directions:

Boil the cocoa, sugar, butter and milk together for 1 minute. Take off heat and add the oatmeal, peanut butter, and vanilla. Stir quickly, and drop by large spoonfuls on waxed paper. Then cool completely.

1.jpg

Our kids were equally fascinated by this type of cookie and it was pretty adorable. “I want to taste the dough!” they said. I explained that this dough was different and at first, they protested, “No! I like the regular dough, normal dough!” and then they got a big spoonful of the delicious chocolate goodness :) They were completely sold!

Pierson is in a stage where he thinks it’s REALLY funny to not smile for pictures; or to make ME laugh instead of him smiling. And Reese is the most animated extroverted child I’ve ever met. But that’s beside the point. These kids are pretty wonderful and so is my husband, who really is the one who pretty much made these cookies….(Thanks, Babe.)

Do you like Chocolate No Bakes? If so, PLEASE try this recipe. My mom gave me a recipe box for my wedding and I love being able to refer back to my childhood favorites, such as this!

15.jpg

Time for Cookies!!! Super Yummy Maple Chocolate Chunk

DSC_7772-2.jpg

The kids have been asking me for a couple of weeks, "Can we bake cookies??" Last week I was in a super anxious and frusterated mood and I decided to whip through our Lazy Susan to see what ingredients we had. Why I choose to bake with two very small children when I am not in the greatest of moods is beyond me, however, I will admit that about half way through I started to cheer up and feel calm again. (Thanks, kiddos, for putting up with your mama!) 

I went to my Pinterest 'Sweets' board and found a recipe I had never made before: Ooey-Gooey Chewy Maple Chocolate Chip Cookies. I've never used maple syrup in cookies (have you??) but it is a genius idea! Most of the sweetness came from the syrup, as only 1/4 cup is required of granulated and brown sugar. 

If you're in the mood for a very SOFT cookie filled with chocolate chunk goodness, this is the cookie you should make. Here's what you need, my only adaption is that I didn't use the maple extract because we didn't have any:

  • 6 tablespoons salted butter, room temperature
  • 1/4 cup granulated sugar
  • 1/4 cup light brown sugar
  • 1/4 cup pure maple syrup
  • 1 large egg, room temperature
  • 2 teaspoons maple extract or maple flavor
  • 1 teaspoon vanilla extract
  • 1/2 teaspoon salt
  • 1 cup plus 5 tablespoons all-purpose flour
  • 1 cup dark chocolate, cut into large chunks

I followed Broma Bakery's instructions exactly, and I don't recommend swaying from them! She was spot ON about the ten minutes of bake time. Yes, they DO look way underdone, but after sitting on the baking sheets for ten more minutes after they're out, they are literally perfect. 

  1. Preheat oven to 350°F. Grease two cookie sheets and set aside.
  2. In a standing mixer with a paddle attachment, cream the butter, granulated sugar, brown sugar, and maple syrup for 2 minutes until light and fluffy.
  3. Add in egg, maple extract, vanilla extract, and salt, and beat for an additional minute. Pour in flour and turn the mixer to its lowest speed, working in the flour only until it incorporates.
  4. Remove from mixer and fold in chocolate chunks. Use a 2 ounce cookie scoop to scoop cookies onto prepared cookie sheets.
  5. Bake cookies for 10 minutes. Remove the cookies from the oven and allow them to sit on the baking sheet, untouched, for 10 minutes. They will continue to cook and crisp up around the edges during this time.
  6. Once the cookies have sat for 10 minutes, you can remove them from the cookie sheet and serve!