in the kitchen

Homemade Baked Mac n' Cheese, Yes, Please!

Ashley Glass Blog

Reese is definitely a mac n’ cheese gal but let’s face it…who doesn’t love it? Asa has made his from scratch for a long time and it’s a huge hit at family functions and get togethers, but for this dish he found a new recipe that is absolutely to die for!

We worked with Kroger and the campaign was for a Southern Comfort meal. This dinner hit the SPOT for that comfort food deliciousness, so much so that I may have eaten directly out of the tray once I cleaned my plate. Oh my word, Ashley… that’s embarrassing.

Okay, want the recipe?? I expect this to be on your family’s weekend menu and I want to know how you like it! This dish was inspired by Mom On Timeout’s blog post, so I cannot take the credit, she totally deserves it all! :)

PS: we were in an airbnb when we made this dish, as our home was still being fixed up. Hence the reason for the disposable tray and a room you may not recognize at the bottom of this post ;)

Ingredients:

  • 16 oz elbow macaroni, cooked (or other tubular pasta)

  • 1 tbsp extra virgin olive oil

  • 6 tbsp unsalted butter

  • 1/3 cup all purpose flour

  • 3 cups whole milk

  • 1 cup heavy whipping cream

  • 4 cups sharp cheddar cheese shredded

  • 2 cups Gruyere cheese shredded

  • salt and pepper to taste

  • 1 1/2 cups panko crumbs

  • 4 tbsp butter melted

  • 1/2 cup Parmesan cheese shredded

  • 1/4 tsp smoked paprika (or regular paprika)

Instructions:

  • Preheat oven to 350F. Lightly grease a large 3 qt or 4 qt baking dish and set aside.Combine shredded cheeses in a large bowl and set aside.

  • Cook the pasta one minute shy of al dente according to the package instructions. Remove from heat, drain, and place in a large bowl.

  • Drizzle pasta with olive oil and stir to coat pasta. Set aside to cool while preparing cheese sauce.

  • Melt butter in a deep saucepan, dutch oven, or stock pot.

  • Whisk in flour over medium heat and continue whisking for about 1 minute until bubbly and golden.

  • Gradually whisk in the milk and heavy cream until nice and smooth. Continue whisking until you see bubbles on the surface and then continue cooking and whisking for another 2 minutes. Whisk in salt and pepper.

  • Add two cups of shredded cheese and whisk until smooth. Add another two cups of shredded cheese and continue whisking until creamy and smooth. Sauce should be nice and thick.

  • Stir in the cooled pasta until combined and pasta is fully coated with the cheese sauce.

  • Pour half of the mac and cheese into the prepared baking dish. Top with remaining 2 cups of shredded cheese and then the remaining mac and cheese.

  • In a small bowl, combine panko crumbs, Parmesan cheese, melted butter and paprika. Sprinkle over the top and bake until bubbly and golden brown, about 30 minutes. Serve immediately.

Ashley Glass Blog

A few tips from her blog that we also can’t emphasize enough:

Use block cheese and shred, do NOT buy the pre-shredded cheese. Yes, shredded cheese is so easy and serves so many purposes in homemade meals…but NOT for this! It is coated and will not melt properly. You need to shred it yourself for the best result.

Also—cook your pasta to slightly less than al dente, about one minute shy is great. The reason is that this is baked mac and cheese so the pasta will continue to cook in the homemade cheese sauce in the oven. Nobody likes soggy macaroni!

This mac and cheese recipe starts with a roux. The roux is crucial for getting the creamiest cheese sauce ever! Here is what you need to look for:

  • The roux (equal parts butter and flour) is whisked together until bubbly and golden.

  • Whisk in cold milk – not warm – to prevent the flour from clumping.

  • Cook the roux until you see bubbles on the surface and then continue cooking for an additional 2 minutes before adding the cheese.

For an extra bang of flavor, add Parmesan to the Panko topping – cheese upon cheese upon cheese upon cheese. Always and forever, amen. What are you waiting for? Order your groceries, add these items, and get cooking! Comment here when you’ve tried it, I wanna know what you’d rate this!

Ashley Glass Blog

Soft & Chewy M&M Spring Cookies

ashley glass blog

It’s been a bit since I’ve been in the kitchen, so whipping up these soft and chewy cookies was quite the treat for me and my family! The kids have loved to help me bake since they were teeny tiny and this day was no different. So as the sun shone brightly outdoors and the open windows brought in a cool breeze, we got busy. This recipe is super easy and you could even add your own little spin, such as white chocolate chips or funfetti sprinkles—you decide! We used spring colored M&M’s, and followed this recipe to a tee!

Here’s what you need and hopefully you have in your pantry:

  • 1/2 cup butter

  • 1/2 cup brown sugar

  • 1/4 cup white sugar

  • 1 large egg

  • 2 teaspoons vanilla extract

  • 1 2/3 cup flour

  • 1/2 teaspoon baking soda

  • 1/2 teaspoon salt

  • 1/2 cup white chocolate chips

  • 1/2 to 1 cup pastel M&M candies or candies preferred

And here’s how to make them:

  • Preheat oven to 350 degrees.

  • Place parchment paper on top of baking sheets (or set aside un-greased baking sheets)

  • Add butter to a microwave dish and microwave for 25 seconds or more until butter is partially melted, like 1/2 of the butter should appear melted while the other half still looks like a melted butter stick.

  • Add the sugars (brown and white) to a large mixing bowl with the partially melted butter and stir well to combine.

  • Next, beat in the egg and vanilla until just combined.

  • Add in the flour, baking soda, and salt and mix until just combined.

  • Add in your candies of choice (I just used a 1c. measuring cup and then gently stirred with our standing mixer. Don’t over beat or stir though)

  • Use a large cookie scoop (3 tablespoons) to scoop out 12 cookies or use a medium sized cookie scoop (1 1/2 tablespoons) for 18-20 cookies and arrange them evenly on baking sheet .

  • Bake for 10 minutes for medium sized cookies and 13-15 minutes for larger cookies. Cookies will still be slightly underdone when you remove them from the oven. Make sure not to over bake for soft and chewy cookies. Cookies will not spread much while baking. (I followed this precisely and ten minutes was the perfect amount of time!)

  • Let sit on baking sheet for 5 minutes before eating. Allow cookies to cool completely before storing in an air-tight container for up to 4-5 days.

The kids have been enjoying these as an after dinner treat. It’s too bad we aren’t really supposed to share food or common spaces with people, because we would have loved to share with neighbors! I guess it means more for me though, so I won’t complain too much ;) I highly, highly encourage you to make these. Treat yourself to a moment on your deck or porch, cookie in hand. Stay well, friends and happy baking!

ashley glass blog

Christmas Cookies: Mini M & M Style

DSC_5722.jpg

Long, long ago, I used to talk about how much I loved to bake and the peace and serenity that it once brought to me. What happened to that Ashley?! On dark and cloudy days I was known to bust out a baking pan, scrounge for whatever ingredients I could find, and whip something up just to have the aroma fill our home. Banana bread used to be the most common because our kids can NEVER go through a bundle of bananas and one or two were bound to turn black and be too soft. Even just last Christmas I was much more in the mood to bake than I currently am; maybe that's because I knew that Christmas break 2016 was the start of my 'Stay at Home Adventure,' and well, that season too has passed. 

I just realized that I sound like THE most depressed mother and woman ever as I type--sorry about that! The whole point of this post is to say, "HURRAY! I busted out the baking tools again!!" and I have a really yummy holiday cookie recipe JUST for you! So bear with me, I'm getting to the good stuff now. 

Through the multiple baking books that I have, and holiday magazines full of dessert recipes, it was trusty old Google who showed up for me last weekend. "Holiday cookie recipes" is what I searched, and I was brought to delish.com , where there were 80+ photos to look through. What caught my eye was MOSTLY that the recipe included mini M & M's. 

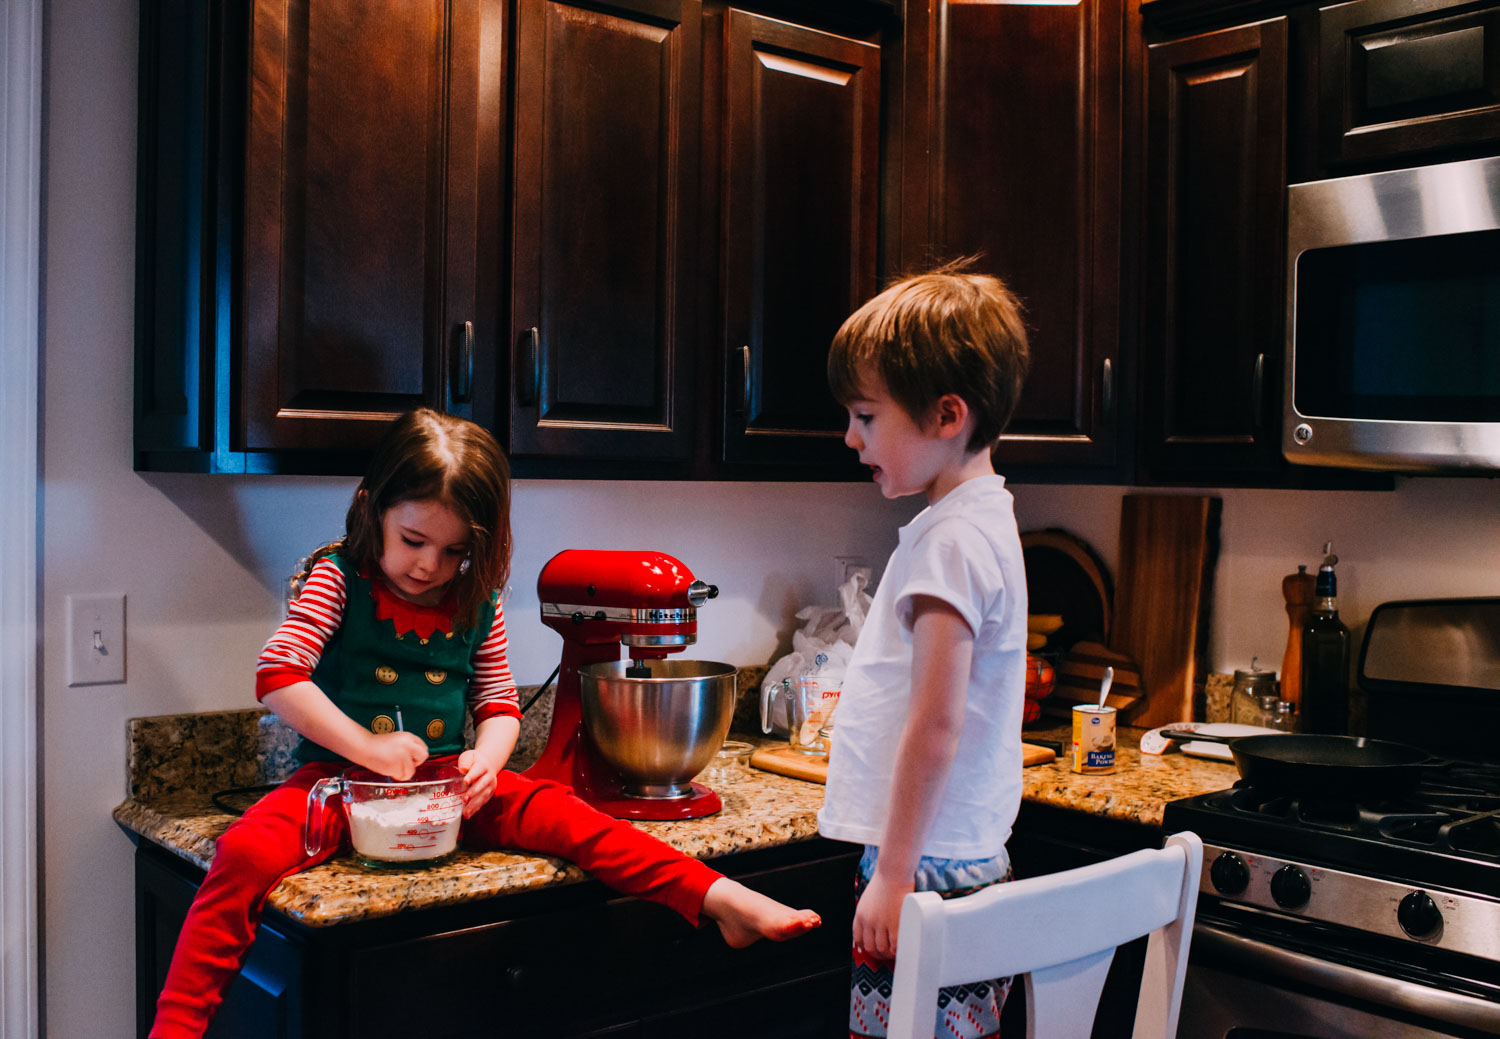
My kids hurried to my side, Pierson grabbing a chair and Reese climbing ON the counter. And there were incessant little voices saying, "Can I help?! Is it my turn?! I want to do it!" through this entire process. Somewhere in the middle of their cries I sappily told myself, "Ashley, you'll miss this," so needless to say, I allowed them to help as much as I could :)

DSC_5724.jpg

These were called 'Christmas Drops' on this website and here are the ingredients you'll need: 

DSC_5721.jpg
  • 2½ c. all-purpose flour
  • 1 tsp. baking soda
  • 1 tsp. salt
  • 1 c. unsalted butter
  • ¾ c. granulated sugar
  • ¾ c. packed brown sugar
  • 2 large eggs
  • 2 tsp. vanilla extract
  • 1 c. white chocolate chips
  • 1 c. semisweet or milk chocolate chips
  • ½ c. red and green mini baking bits (M&M's mini baking bits)
    **PS: Totally forgot to include the brown sugar in the ingredient shot above, WOOPS. I promise I used it IN the actual recipe**
DSC_5726.jpg

Baking Directions:

  1. Heat oven to 375 degrees F. Line several baking sheets with parchment paper. In a bowl, whisk flour, baking soda, and salt.
  2. In a large bowl, beat butter and sugars until light and fluffy. Beat in eggs and vanilla. Beat in flour mixture until blended. Stir in chocolate chips and baking bits.
  3. Drop rounded tablespoons of dough 3 inches apart onto prepared baking sheets. Bake 9 to 10 minutes, or until cookies are browned at edges and no longer wet-looking in centers. Let stand on sheets for 2 minutes before removing to wire racks to cool.
DSC_5730.jpg

**Just an FYI, I had to soften my butter in the microwave, because I am terrible at planning ahead. And I baked two batches for 10 minutes. They were incredibly soft, golden around the edges, and SO SO SO SO SO delicious.**


The BEST Oatmeal Chocolate Chip Cookies.

I think I bake cookies every month, if not every couple of weeks. Especially when it's cold or raining, but then again...I also love to open the windows and bake when the sunlight is pouring in too, so I suppose I bake as often as I can. Anyone else guilty of this?! The only *dilemma* is that my kids also LOVE to bake, and the thing is, they think they're really helping. And they're not. I feel like my life is a constant, "Reese, not yet," or, "Pierson, just be patient," while I juggle reading instructions, measuring ingredients, and helping them not dump flour and sugar all over the floor. But it's cute. And these memories are priceless, so lo and behold, we bake together often. 

Here's the recipe for my absolute favorite oatmeal chocolate chip cookies, adapted from Liv for Cake's blog

Ingredients
1 1/2 cups all-purpose flour
1 tsp baking soda
1 tsp ground cinnamon
1/2 tsp salt [I always eyeball this]
1 c unsalted butter at room temp [mine's typically colder than room temp but I warm it up a few seconds in the microwave and they turn out delish nonetheless]
1 c light brown sugar packed
1/4 c granulated sugar
2 eggs room temperature [I always pull from fridge because I forget to set them out!] 
2 tsp vanilla extract
3 c rolled oats
2 c chocolate chips [I usually end up pouring in a whole lot more.....oops]

Directions

-In a medium bowl, whisk flour, cinnamon, baking soda, and salt. Set aside.
-In the bowl of an electric mixer, beat butter and sugars on med-high until pale and fluffy (approx. 3 minutes).
-Add eggs one at a time, fully incorporating after each addition, and beat on high for 1 minute. -Add vanilla.
-Turn mixer to low and add flour mixture, mix until combined.
-Add the oats and chocolate chips. Mix until just combined.
-Chill dough in the fridge for an hour (optional, and I did 30 minutes)
-Preheat oven to 350F and line a baking sheet with parchment paper.
-Using a small cookie scoop, place cookies on baking sheet 2" apart.
-Bake for 8 mins or until edges are lightly browned but center is still soft and unset.
-Cool for 5 minutes on baking sheet, then transfer to cooling rack to cool.

I could eat these for breakfast, lunch, AND dinner. And honestly, I had two for my breakfast this morning. Make them, share how they turned out, and have fun baking!! 

PS: I never put raisins in these. I love the texture from the oats, but I don't particularly care for an oatmeal RAISIN cookies, so I just use a ton of chocolate chips instead ;)